Optical Channel Profile
On the R-Server, navigate to Main Menu > Manage > Profiles > Optical Profiles.
The FX92 Optical Channel Profile is in the Multi-Org Profile tab.

Functions:
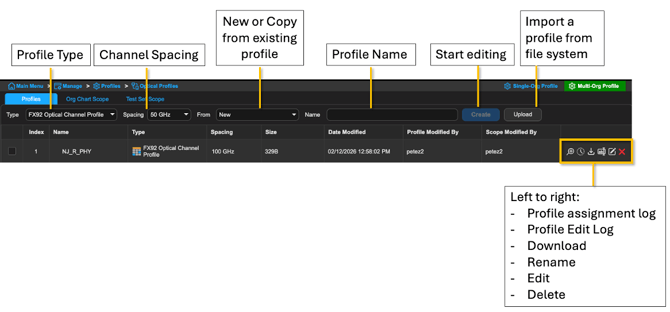
Managing Optical Channel Profile
Creating an Optical Channel Profile
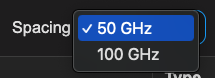
Select the channel spacing (50 GHz or 100 GHz).
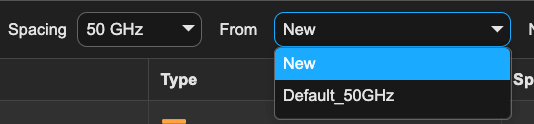
To create a new profile, select New from the From dropdown.

To use an existing profile as template, select an existing profile name from the From dropdown. Note that the dropdown list depends on the Spacing selection.
Alternatively, a profile can be imported using the Upload function. The file must be a zip file containing the compatible channel table XMLs.
Editing an Optical Channel Profile
You can edit an Optical Channel profile when you create it, when you upload it, or by clicking its Edit button.

Select the channel table to be enabled on the test set from the profile.

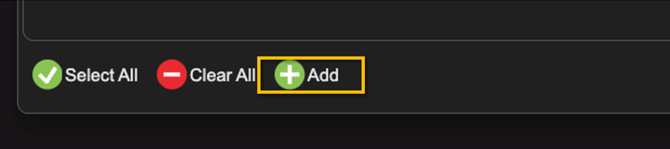
To add a custom channel table, click on the Add button.
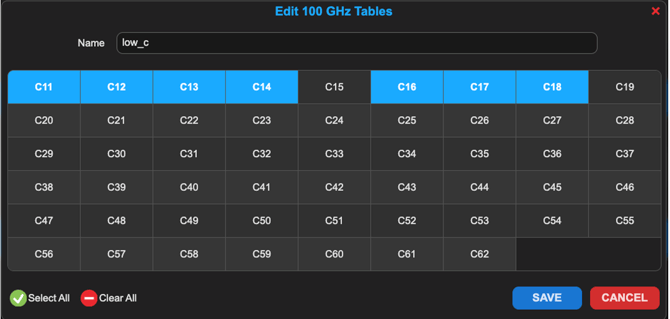
Select the channels to enable for this table. Only the enabled channels will be available on the test set after the profile and custom table are applied.
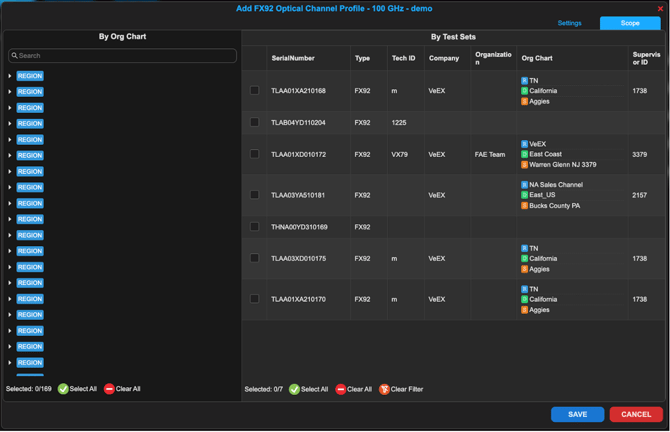
Once done editing, navigate to the Scope tab. Select the Org Chart and/or test set that will detect and download this Optical Channel profile. Multiple Optical Channel profiles can be downloaded to a test set.
Downloading and using the Optical Channel Profile on the FX92:
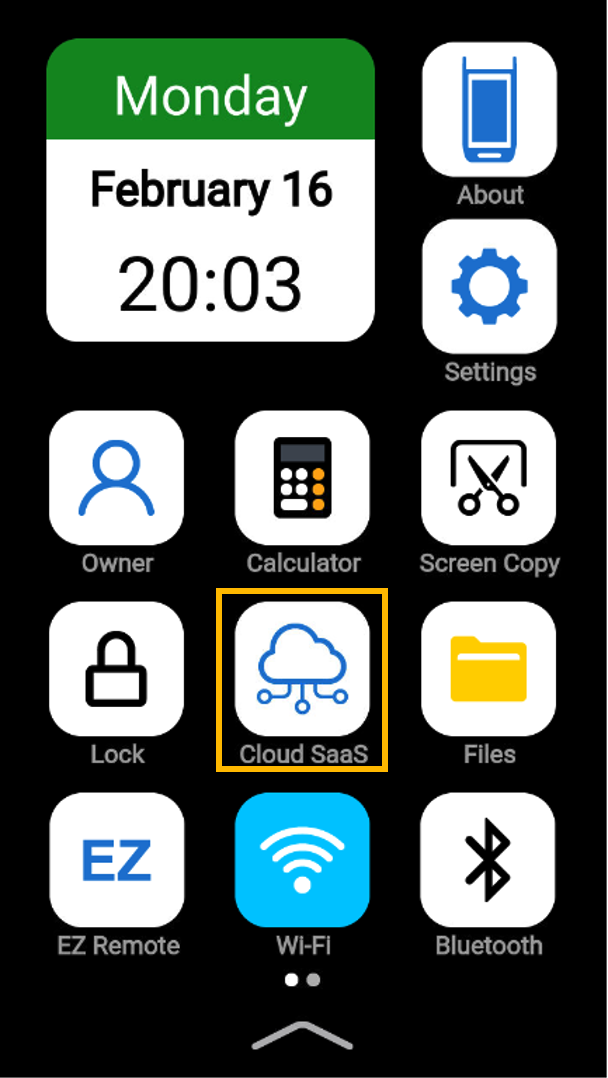
Swipe down to see the utilities menu. Open Cloud SaaS application.
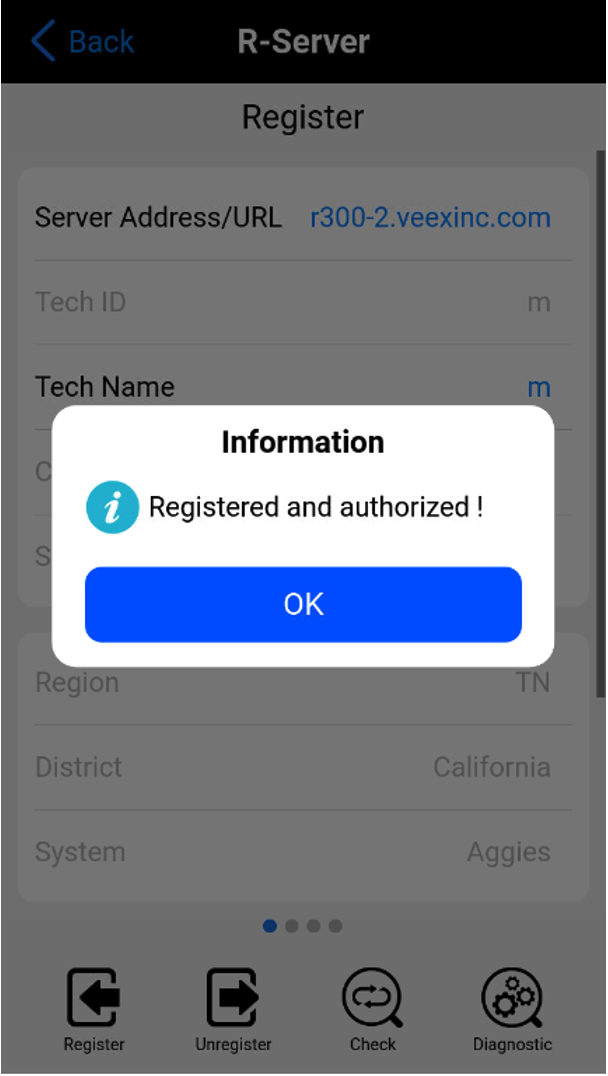
Make sure the test set is registered and authorized to the R-Server.
Go to the Download page, a NEW Optical Channel Profile will be available.
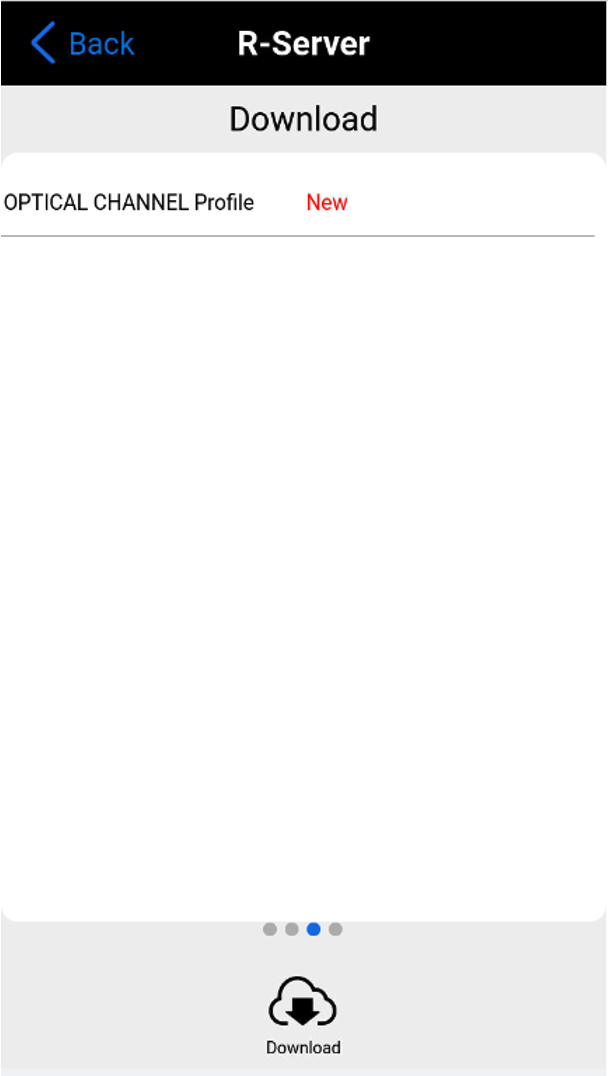
Tap Download to download the profile.
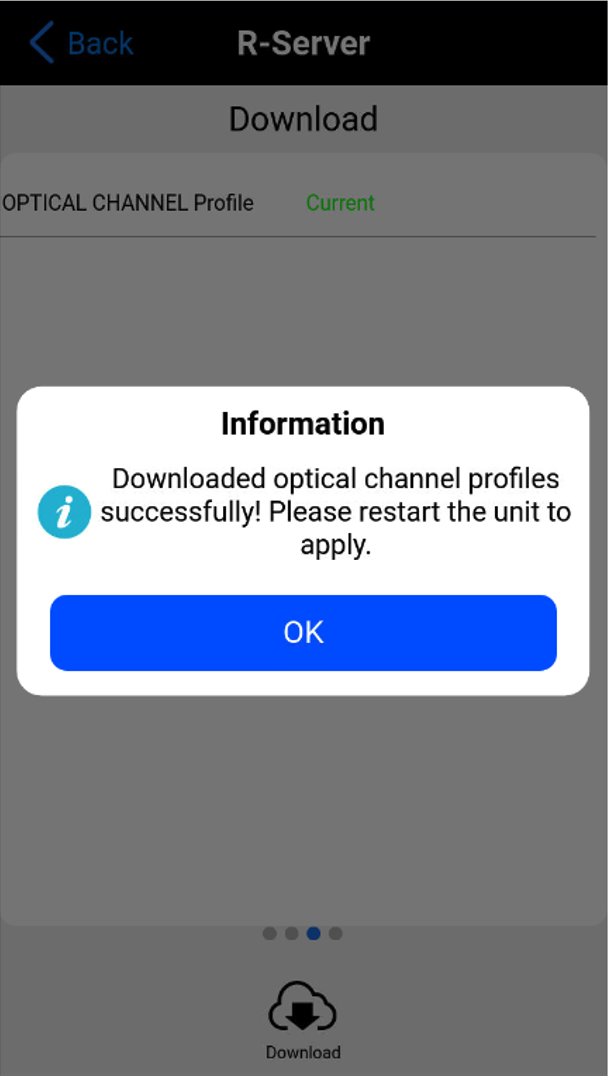
The device must be rebooted to proceed. Reboot the device to continue.
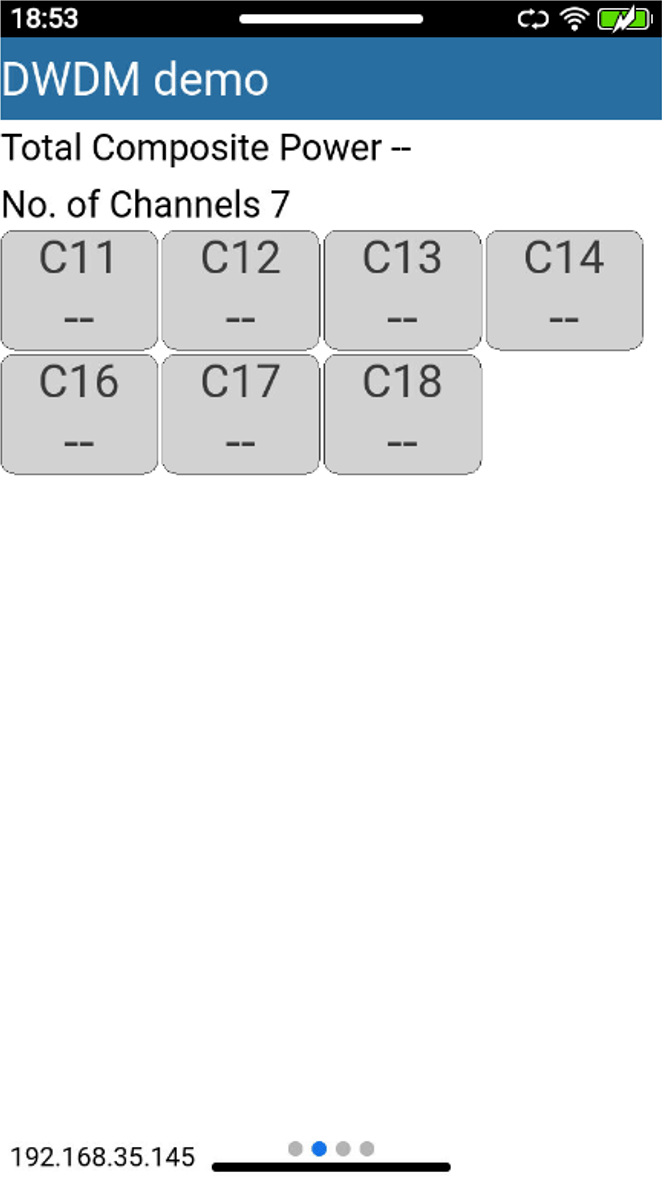
After the restart, access the Optical Channel profile by following these steps:
- Swipe up to see the application’s menu.
- Choose Config.
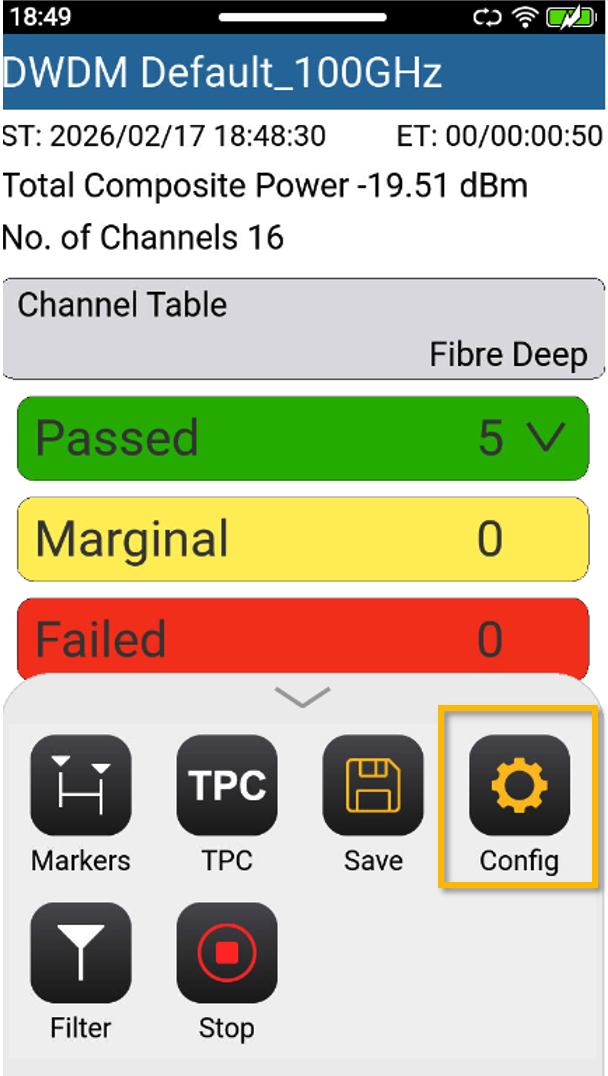
- Tap Spacing. All downloaded Optical Channel profiles are located here.
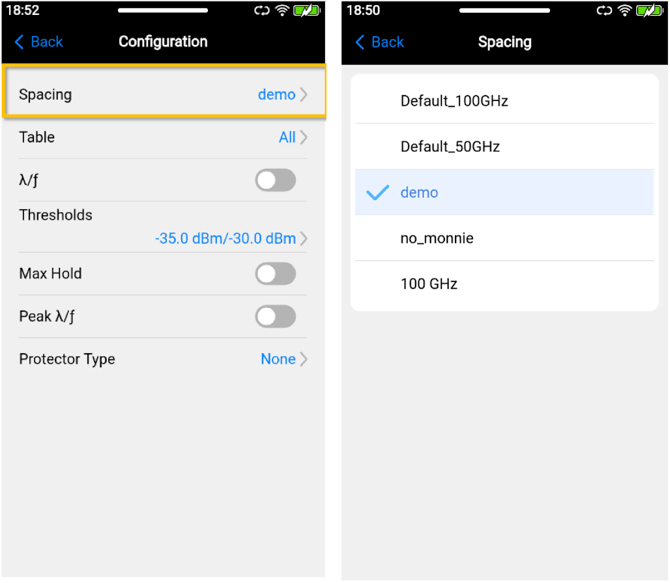
After selecting an Optical Channel profile, return to the main Configuration page by pressing Back or by tapping the selected profile again.
Tap on Table and notice only tables enabled in the profile are listed. Select the desired channel table to run the test.
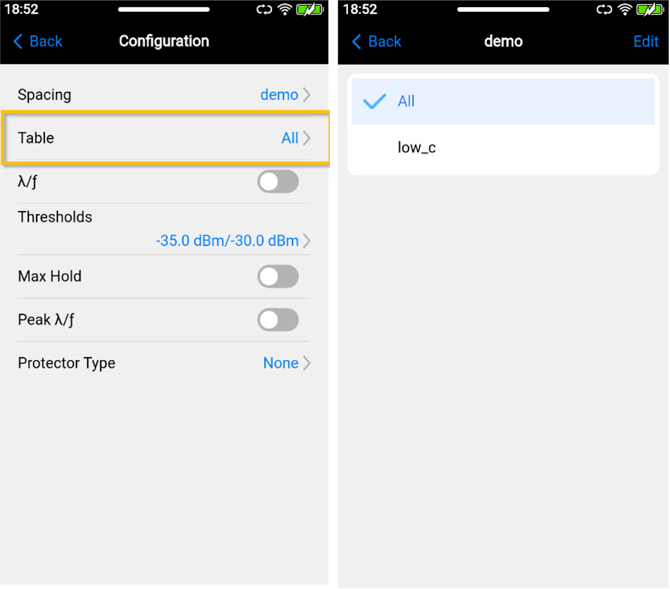
Notice that custom channels tables will only contain the enabled channels on the profile.