
%20with%20MPM-400AR.png?width=670&height=62&name=MPA%20chassis%20(Gen3)%20with%20MPM-400AR.png)
Before you begin:


 Safe Module Handling:
- Inserting and removing MPA test modules should only be performed by suitably qualified personnel who are familiar with the dangers to both people and to the instrument itself.
- Prevent foreign objects from entering the MPA chassis while inserting and removing MPA test modules, which could create short circuits or damage internal fans and components.
- When removed from the MPA chassis, always store test modules by themselves in individual ESD protected packaging (with no loose elements, like screws, tools, or other test modules).
 Danger of Electrostatic Discharge (ESD):
- Static electricity can harm electronic components. Wearing ESD protection, such as ESD shoe grounders or an ESD wrist strap, is recommended when handling MPA test modules.
- An ESD Wrist Strap Terminal (4 mm banana jack) is located on the MPA’s left mounting bracket.
Test Module Insertion:
How to insert a test module into the MPA chassis:

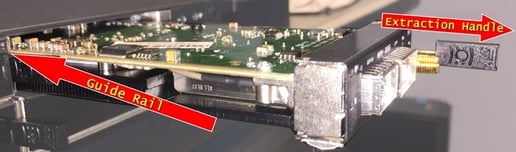
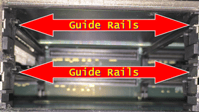
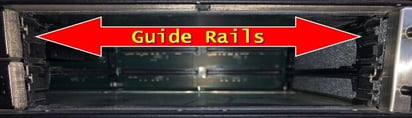
- Make sure the orientation of the module's side edges are aligned with the guide rails, and the Extraction handle is fully extended when inserting.
- Push in the test module until it contacts the backplane socket, then apply enough pressure on the front of the module, near the top of the faceplate, to fully seat the module’s connector into the socket.
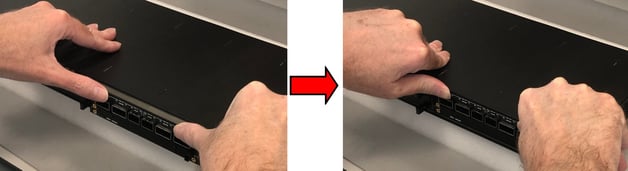
- For test modules or SCM-210 controller cards that are difficult to insert, stand the MPA upright with the back side facing downward. Apply firm, even downward pressure on the test module to gain better leverage and ensure it is fully seated in the backplane.
-
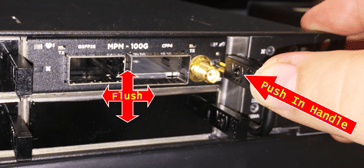
When the module is fully seated, the faceplate will be flush with the other faceplates in the system.
-
After inserted, push the module’s Locking and Extraction handle all the way in to the Locked position before turning the MPA chassis power on.
 Single-Wide Slots
  Double-Wide / Double-High Slot
Test Module Removal:
How to remove a test module from the MPA chassis:
- Make sure that the MPA chassis is powered off.
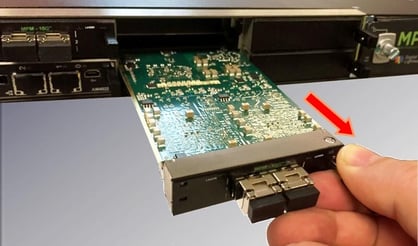
- With the MPA chassis powered off, use the test module’s Locking and Extraction handle to slowly and carefully pull the module or blank filler plate out of the chassis.
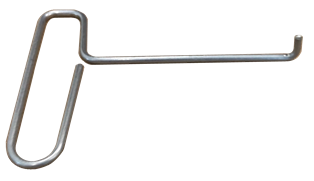
- For hard to remove test modules, use the Test Module Extraction Tool provided by VeEX for better leverage when pulling a test module away from the backplane connectors.
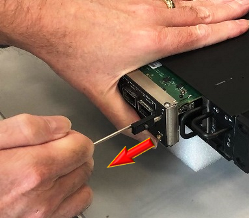
 If force is required to disengage the test module from the backplane connectors, then use your other hand to stop the card's inertia once it becomes disengaged, so the card can then be slowly removed the rest of the way.