

Some new test sets may be delivered with a sample of the LCD screen protective film package (not installed), or it can be ordered separately, to help protect the screen from scratches and protect your investment.
The protective film is available for 5" and 7" stylus-based screens (non-capacitive). Note that the temporary plastic film, installed on the screen during shipment, is not the protective film for regular use and should be removed.


Identify the screen protector package, which includes the protective film, cleaning cloth and printed instructions.

For installation instructions, watch the Quick Guide video below, follow the printed instructions, scan the QR code on the card, and/or visit the following page:
After attaching the protective film to the test set's screen, use the smooth edge of a plastic card (credit, ID, etc.) to remove any air bubbles by pushing them towards the edges.
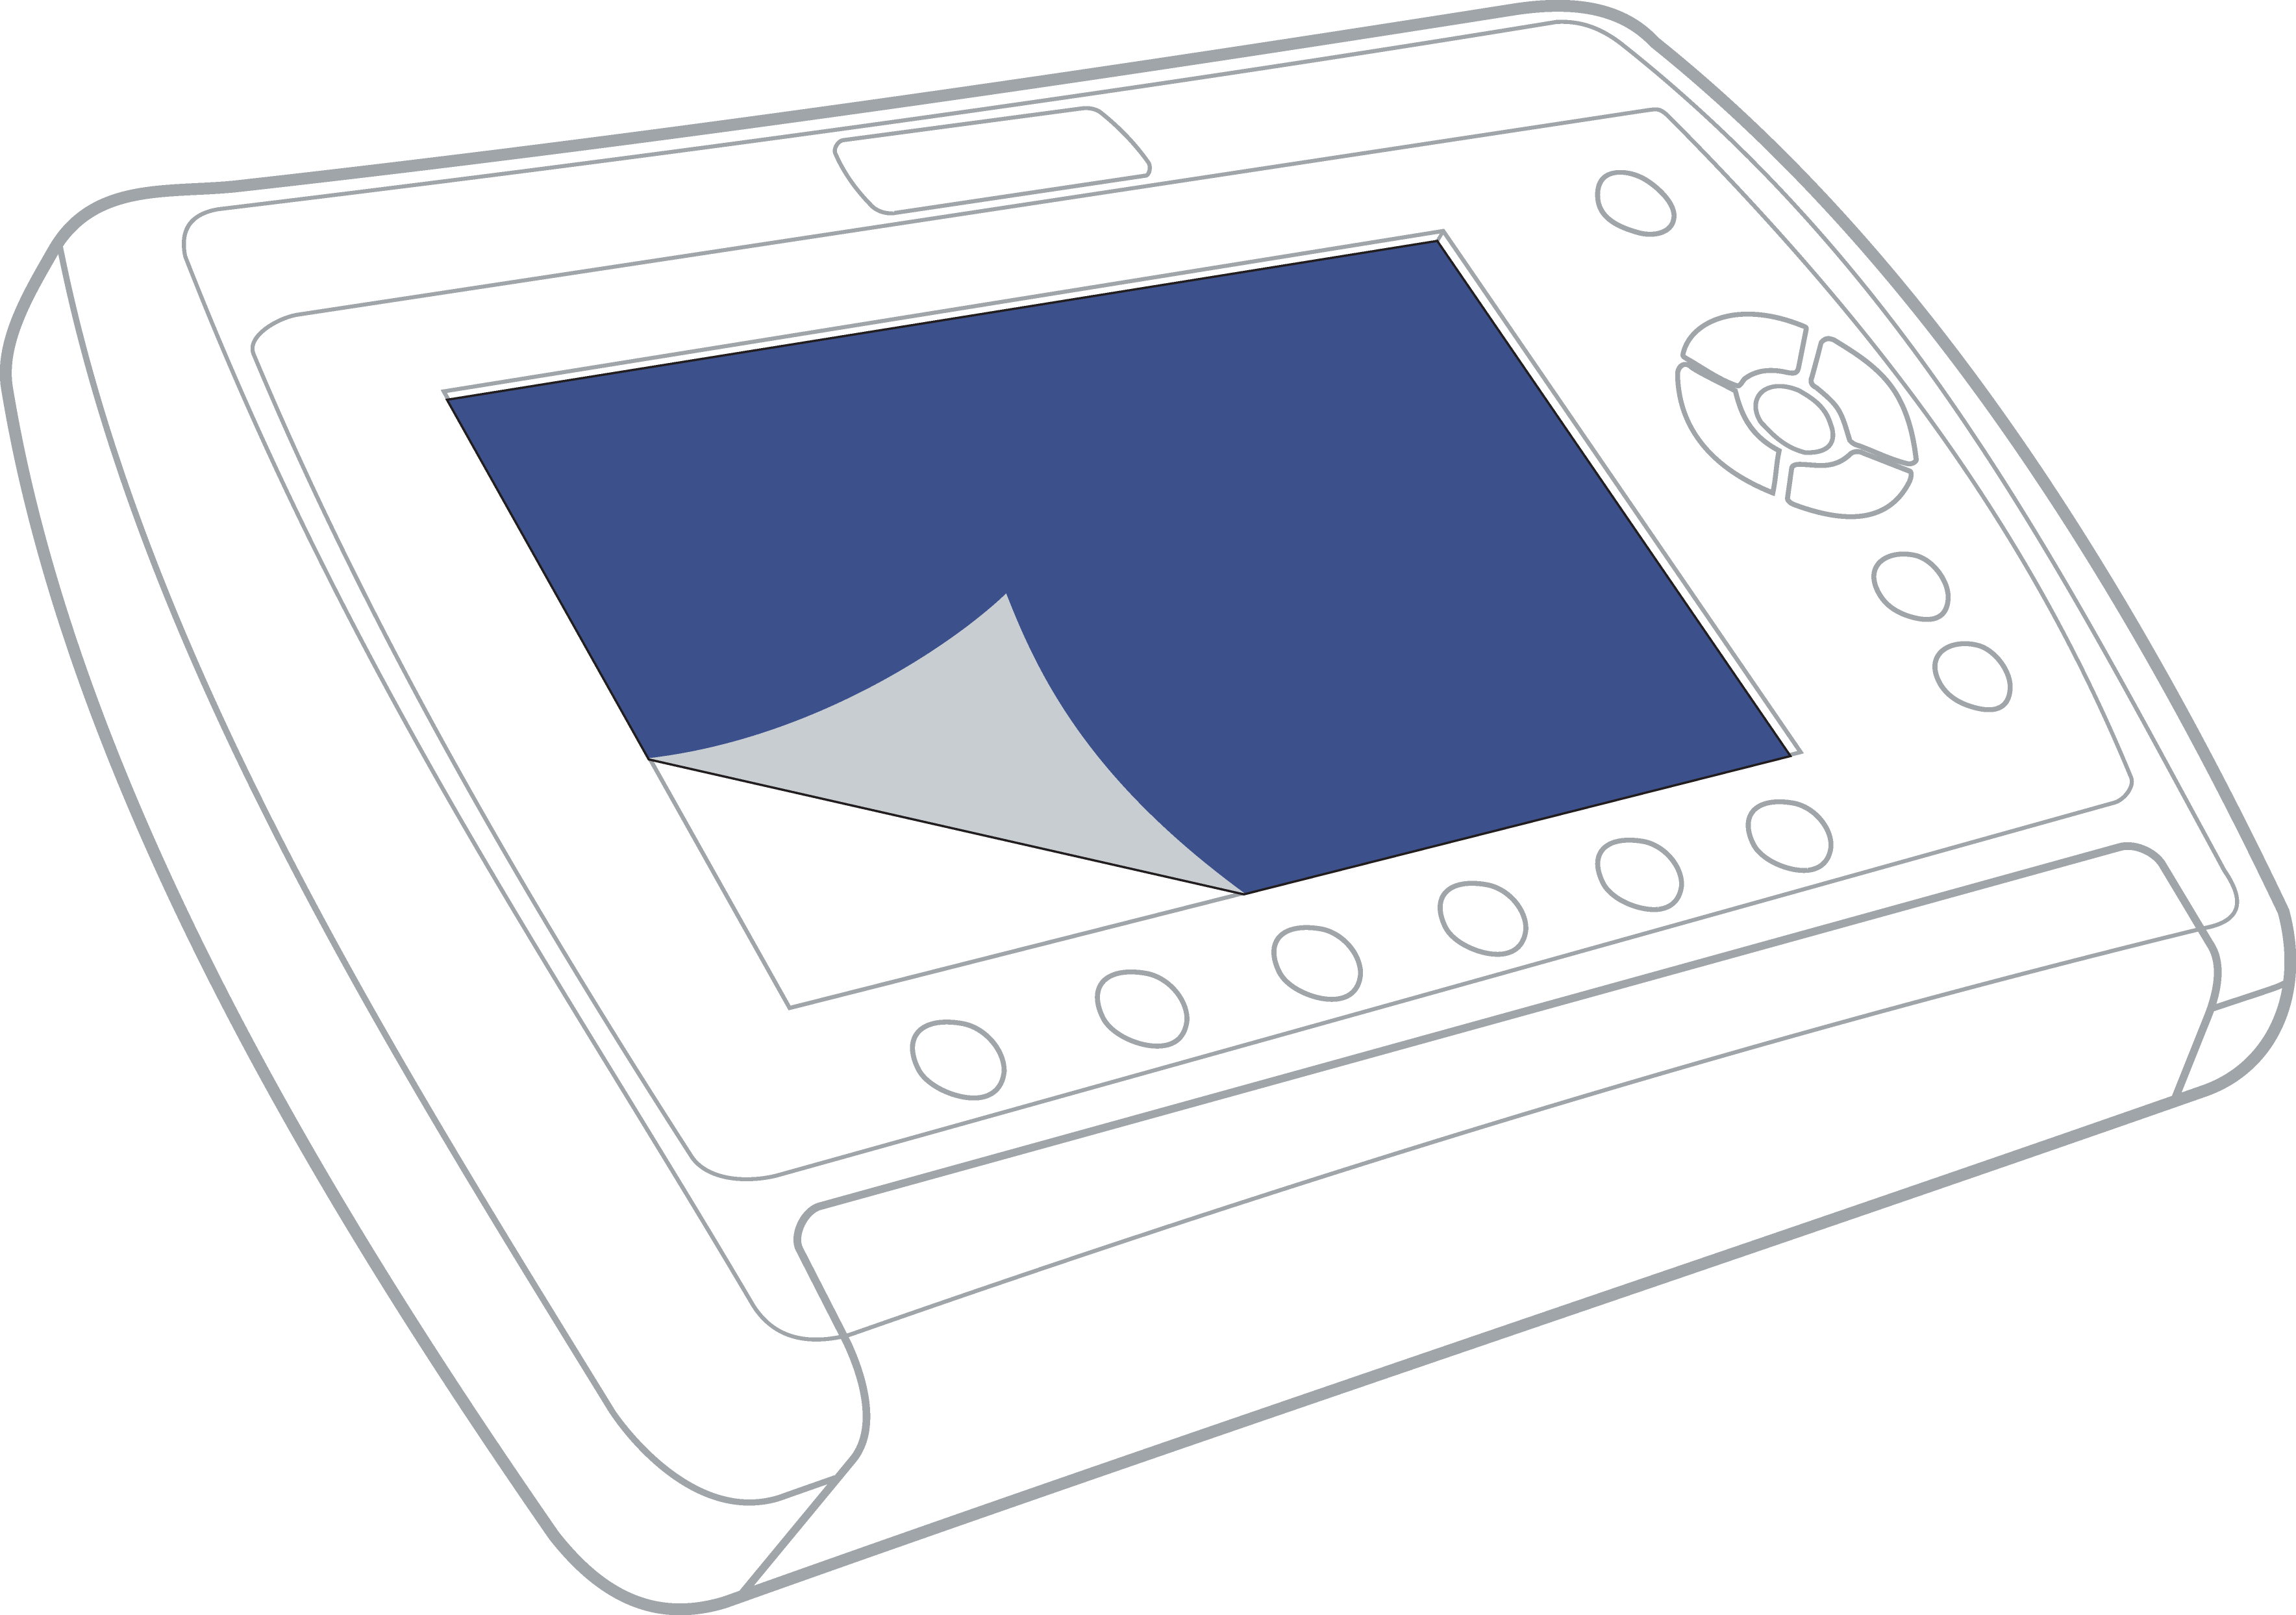
The protective film can be replaced if it gets damaged. Affix a piece of adhesive tape to a corner of the film and pull to lift.
Note: Capacitive multi-touch screens, available on other VeEX test sets, are glass-based and do not require protective films.